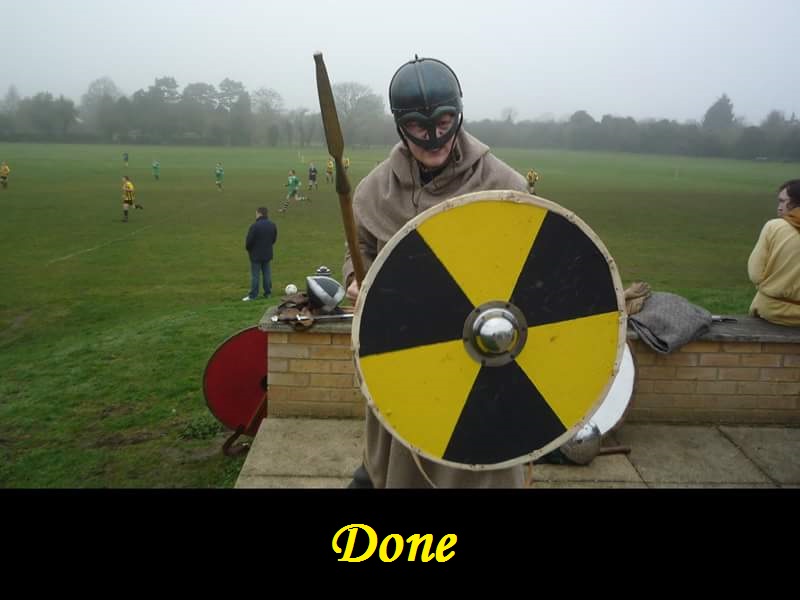
This is a guide to making a round shield.
What you need:
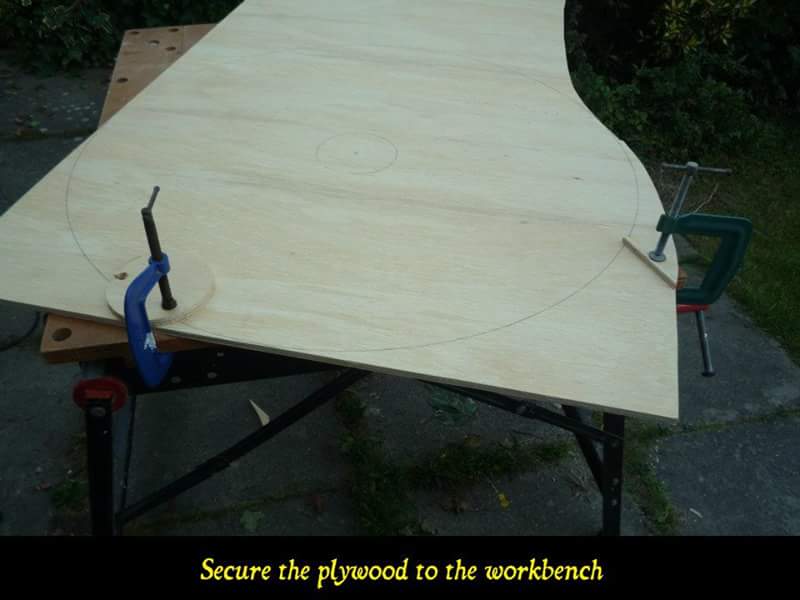
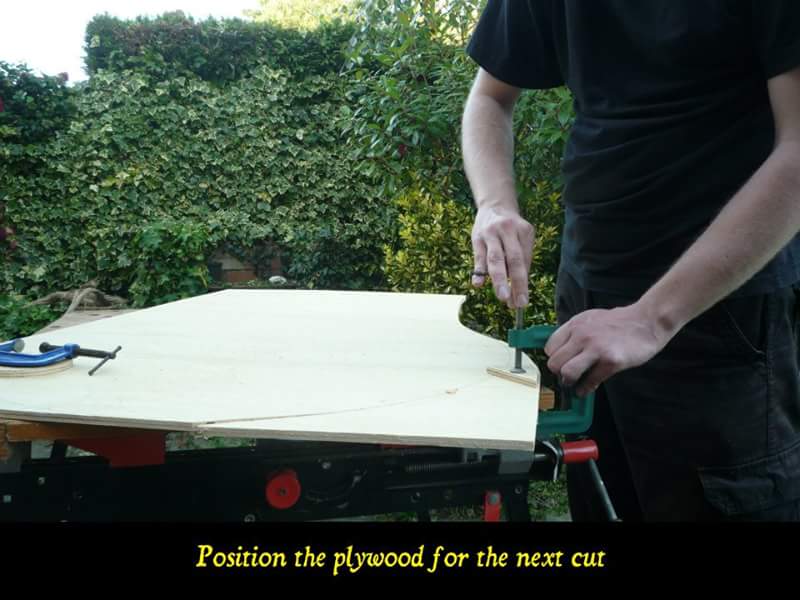
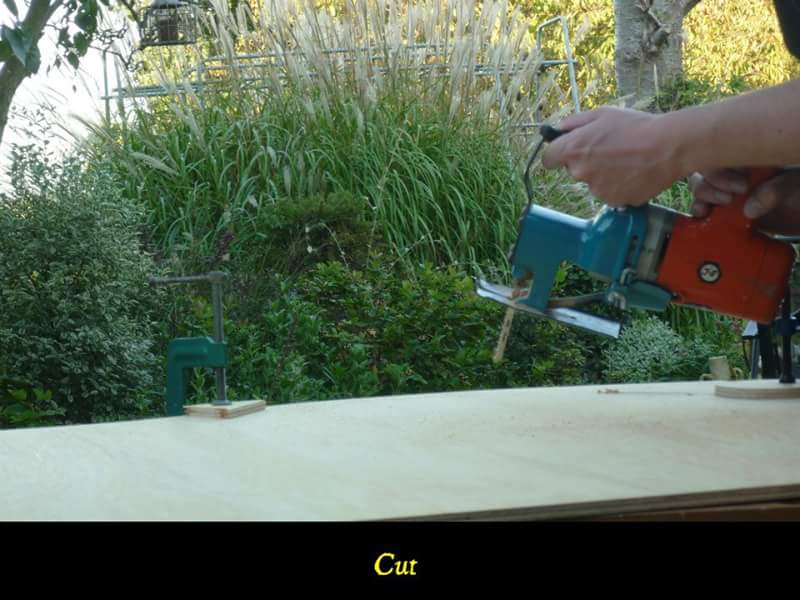
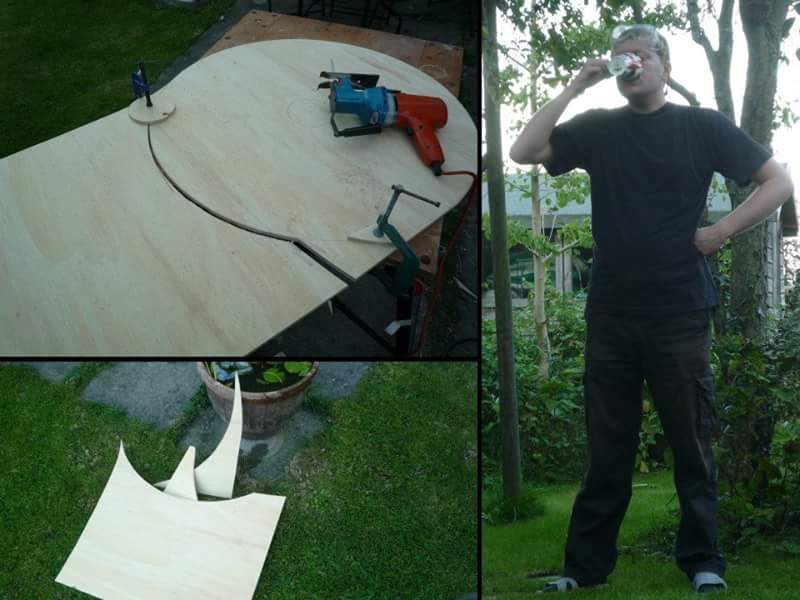
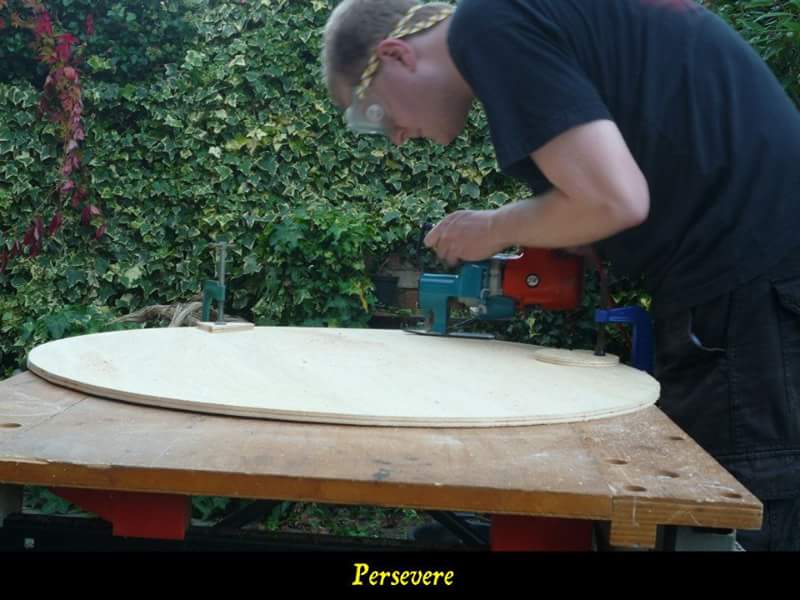
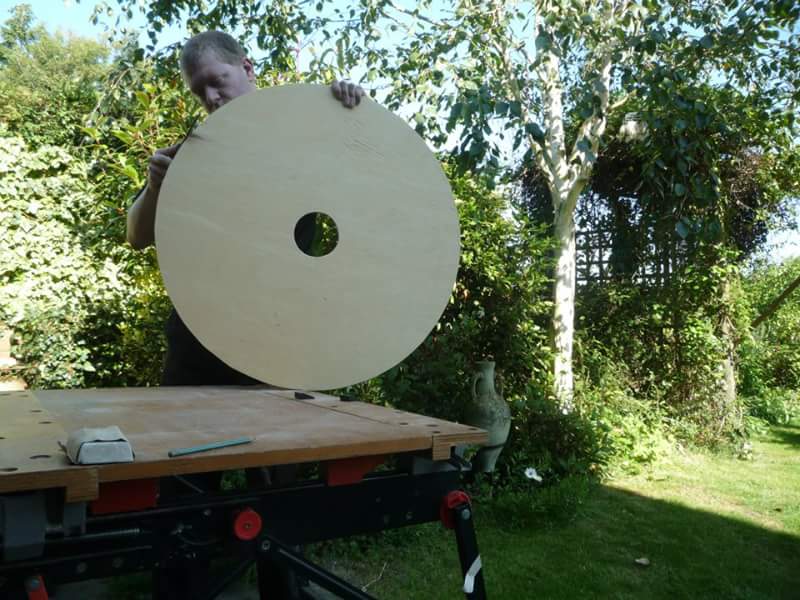
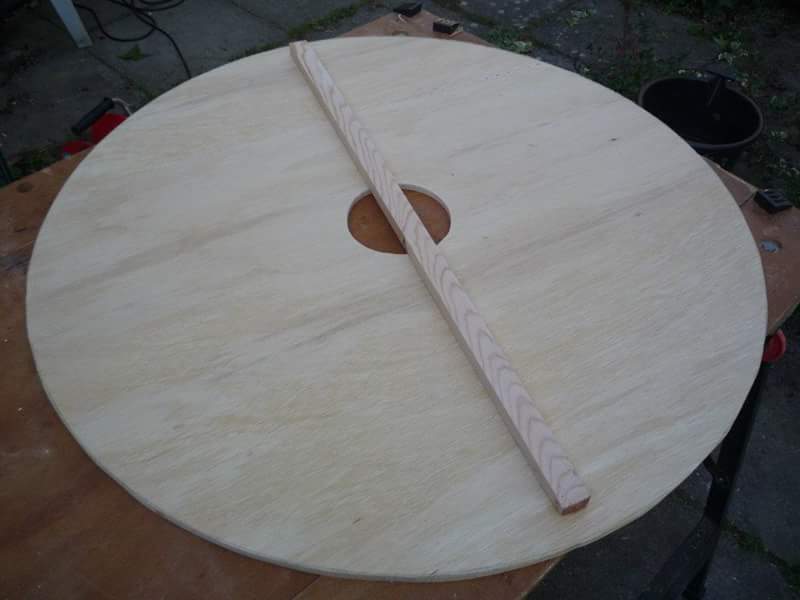
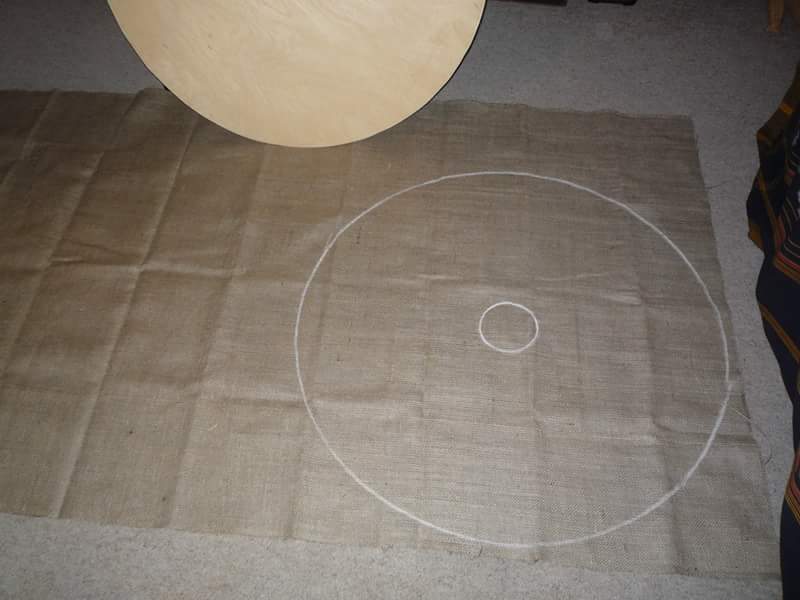
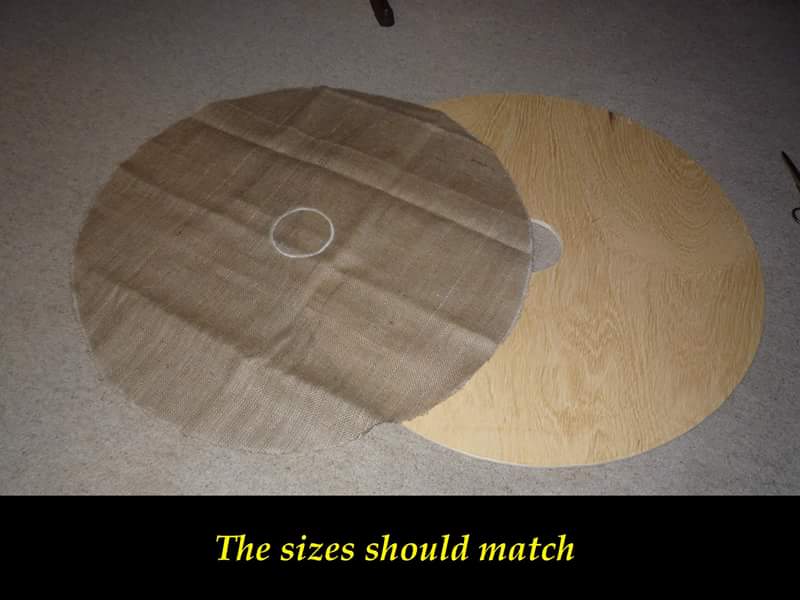
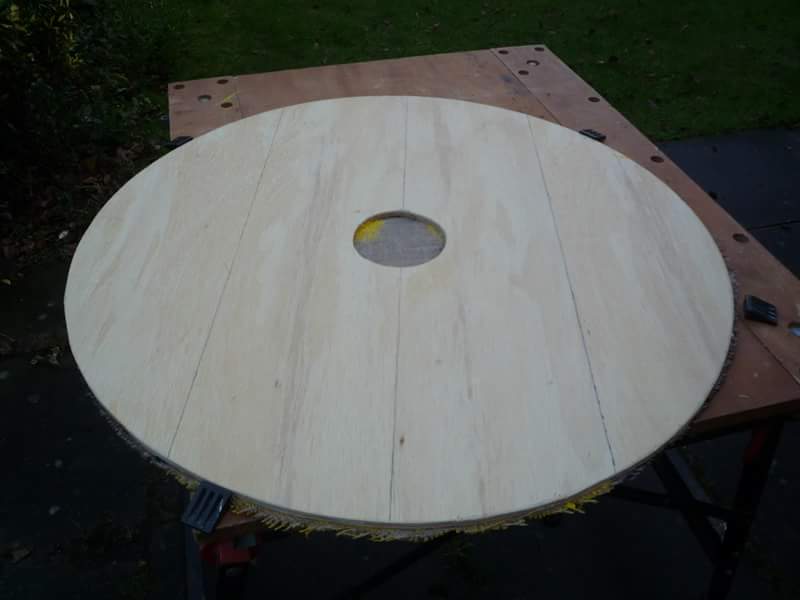
- 1 × 9mm thick plywood, big enough for shield.
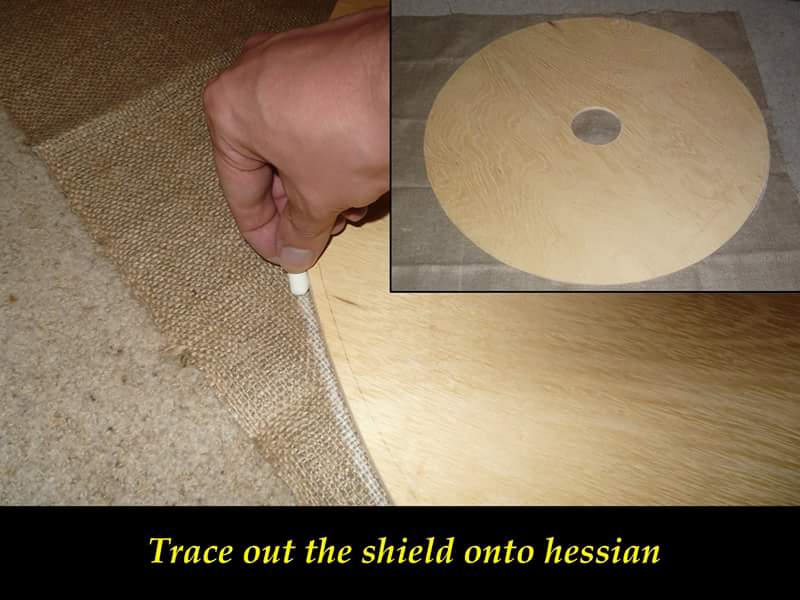
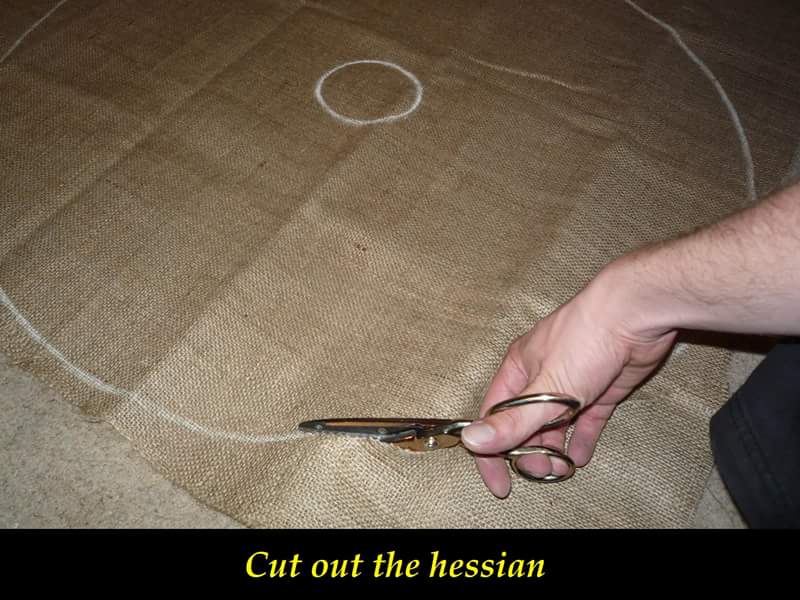
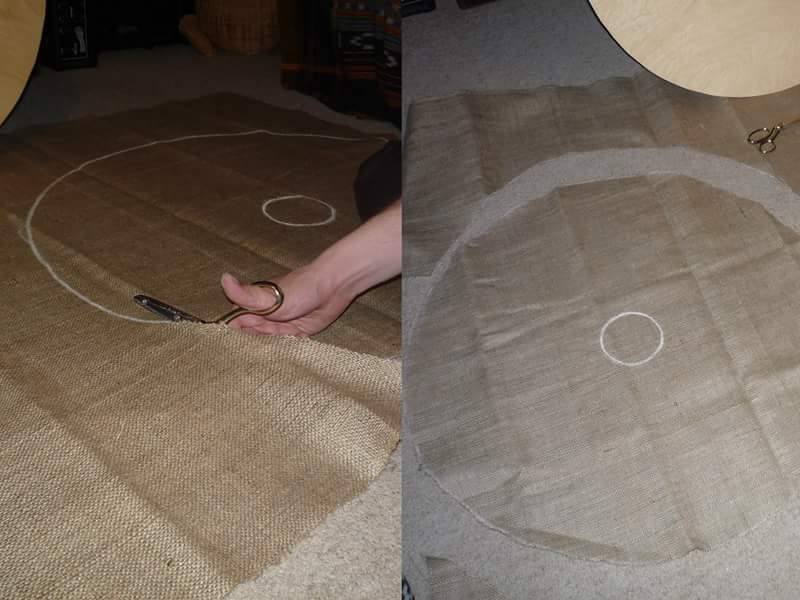
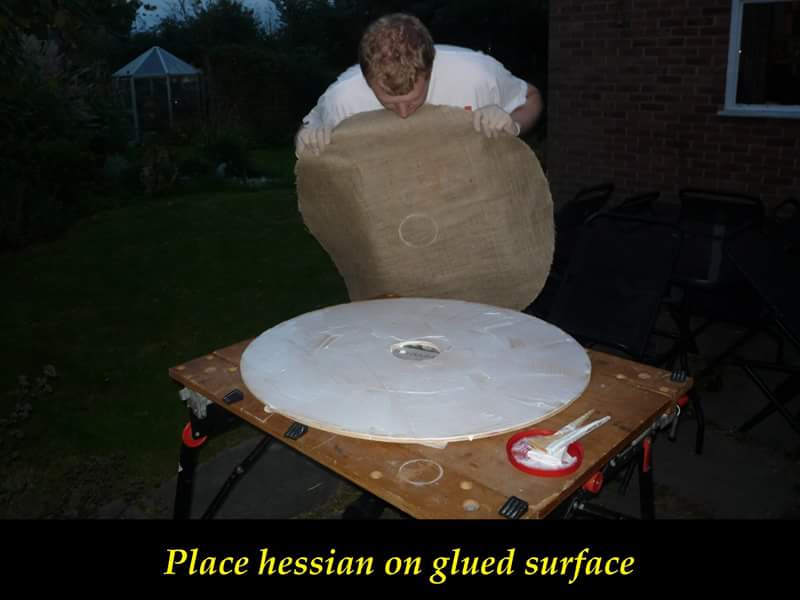
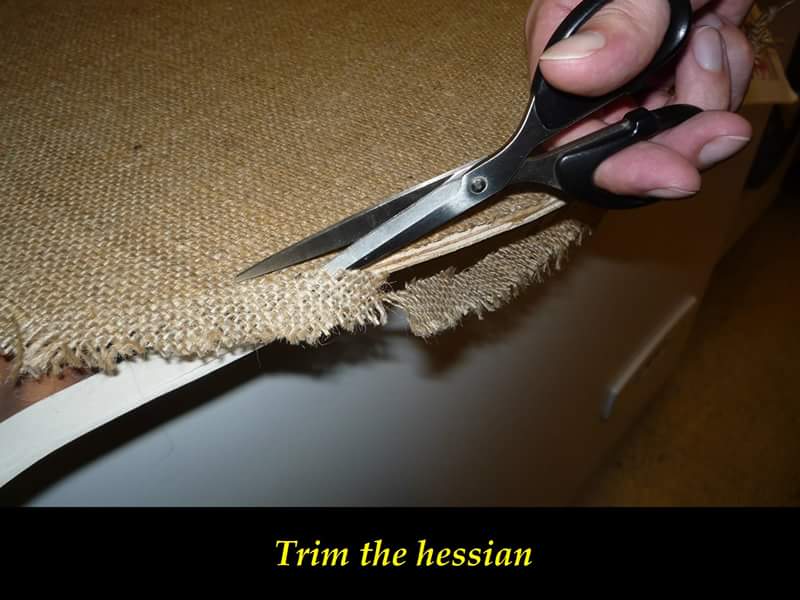
- 1 × sheet of hessian or similar cloth to face the shield with.
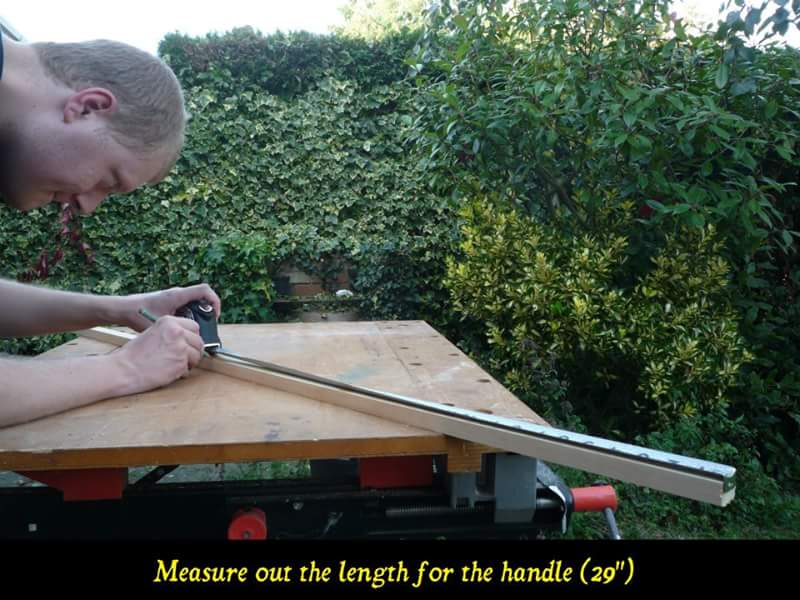
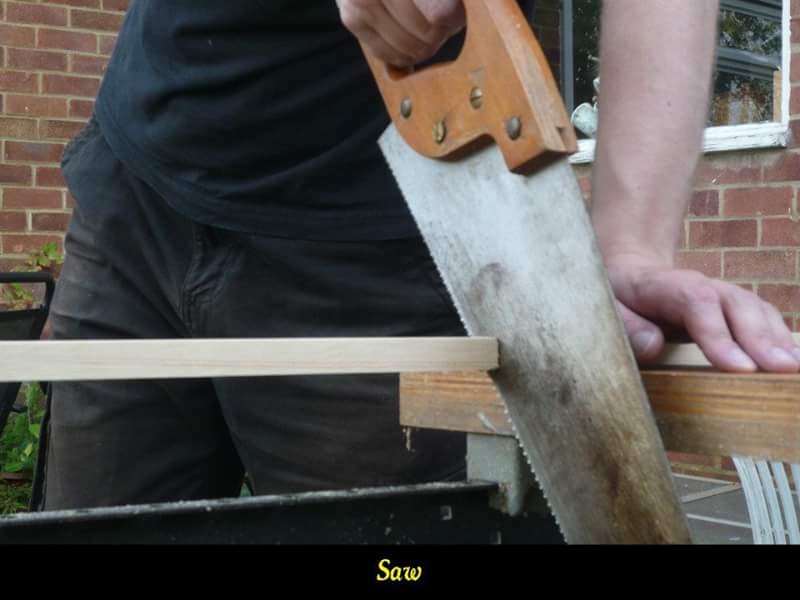
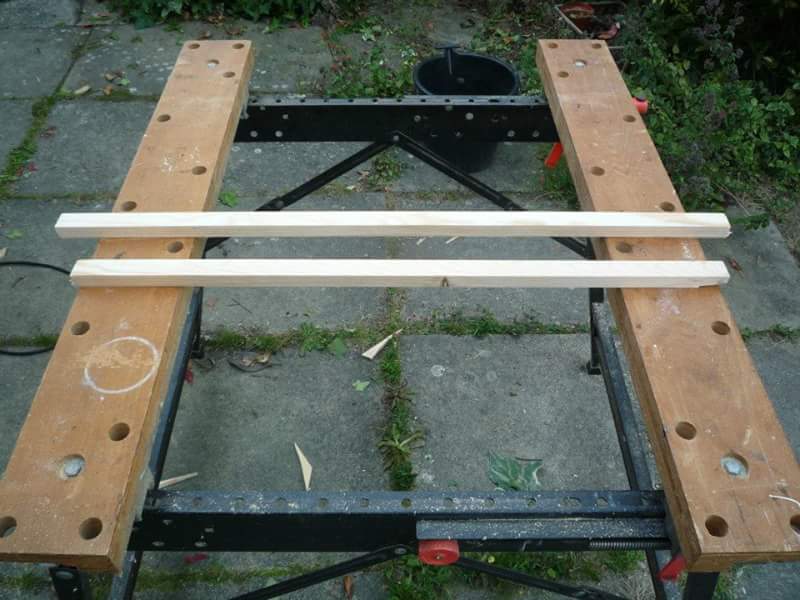
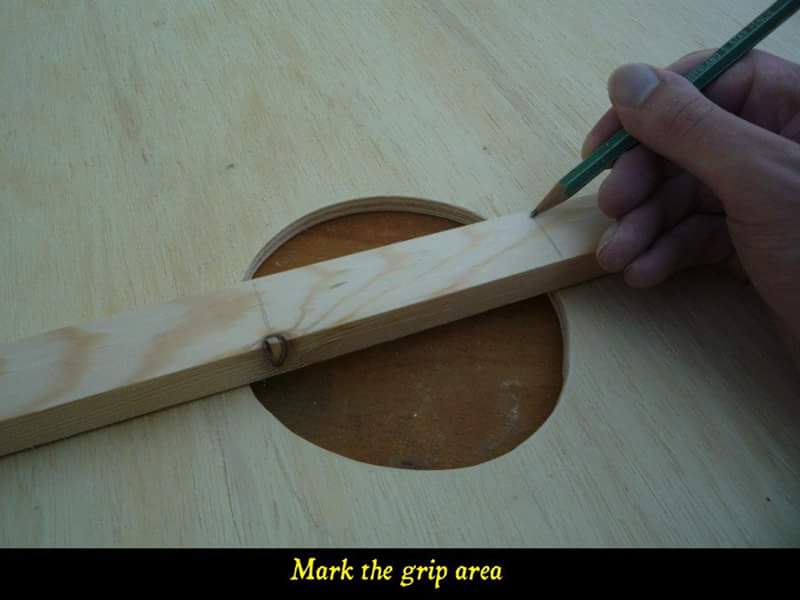
- 1 × handle, or bit of wood to make into a handle.
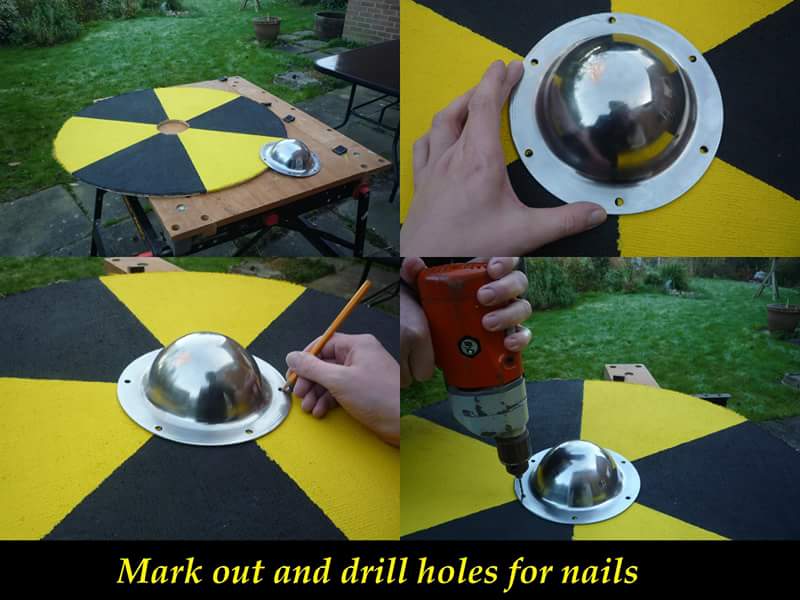
- 1 × shield boss.
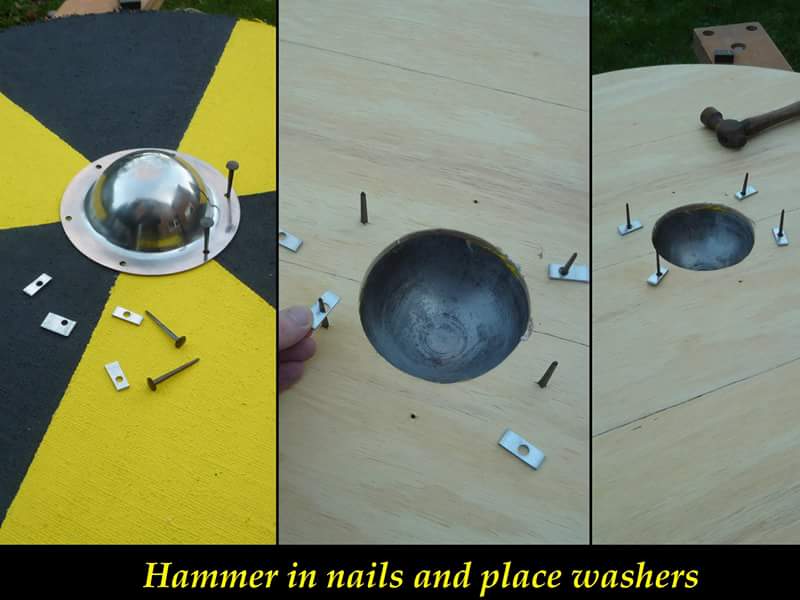
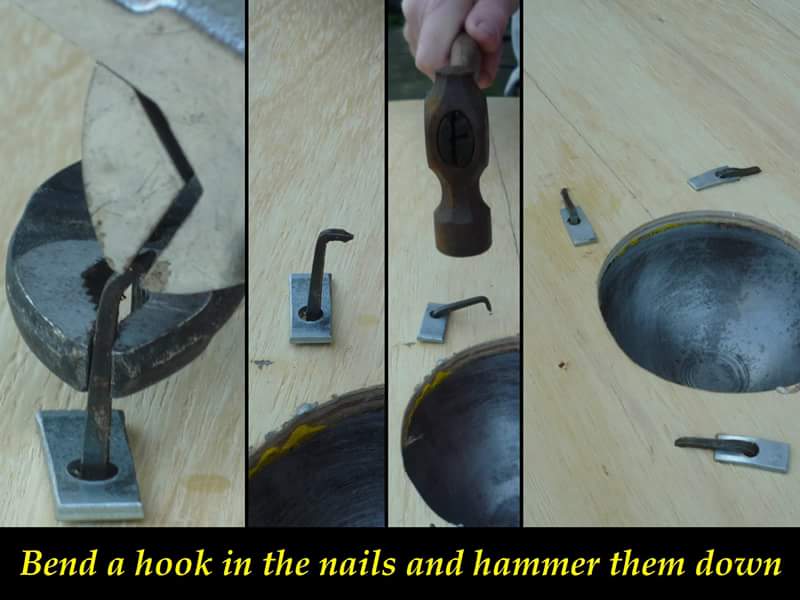
- About 10 × nails or rivets.
- 5 or 6 to affix the boss
- 4 to affix the handle (can sometimes share nails with boss)
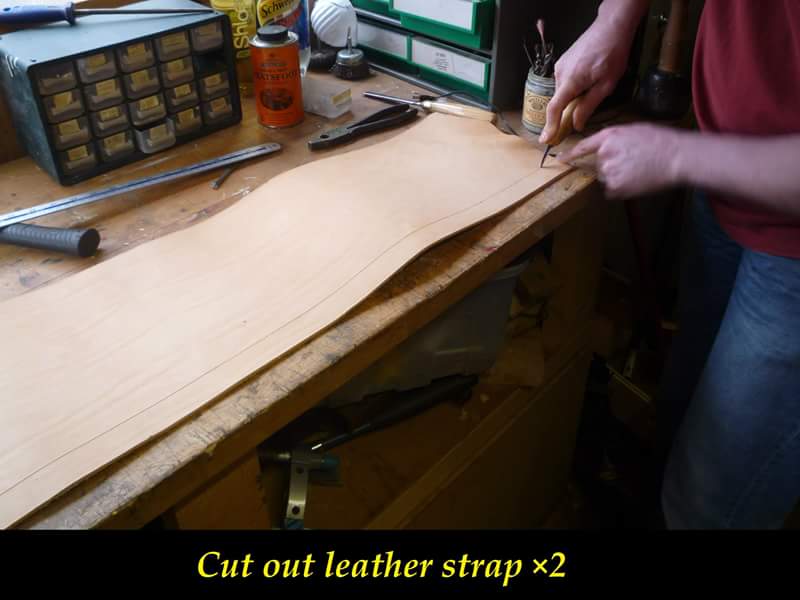
- 2 to affix the strap
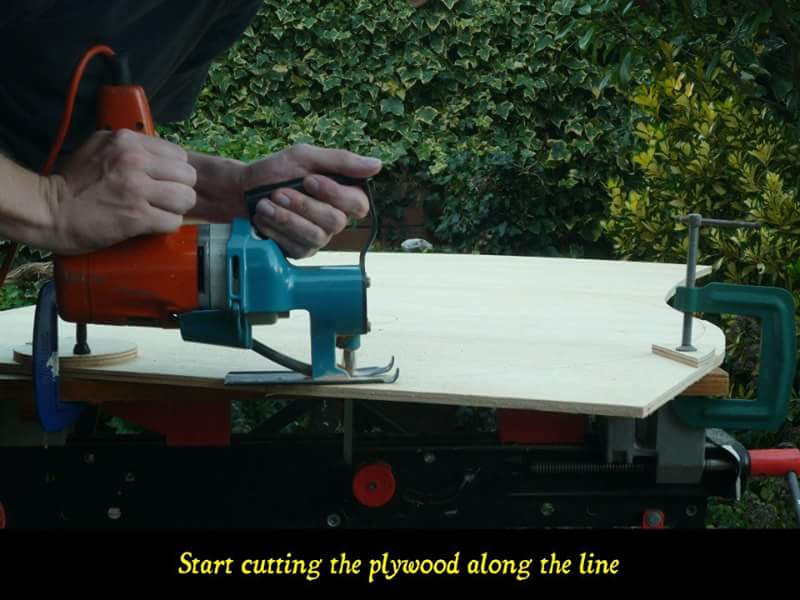
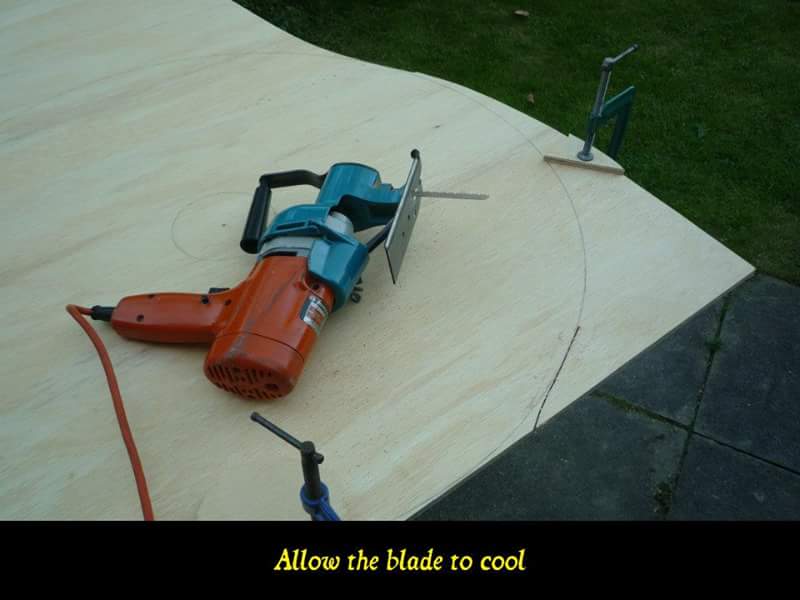
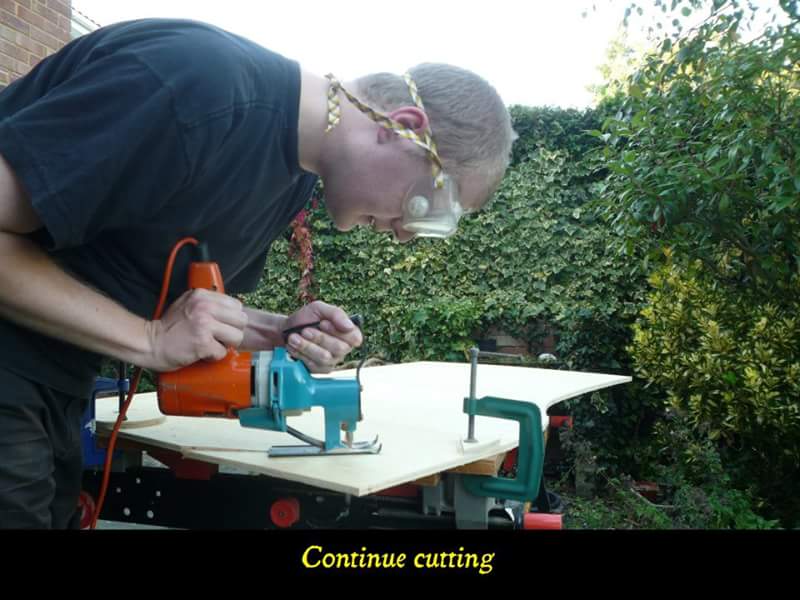
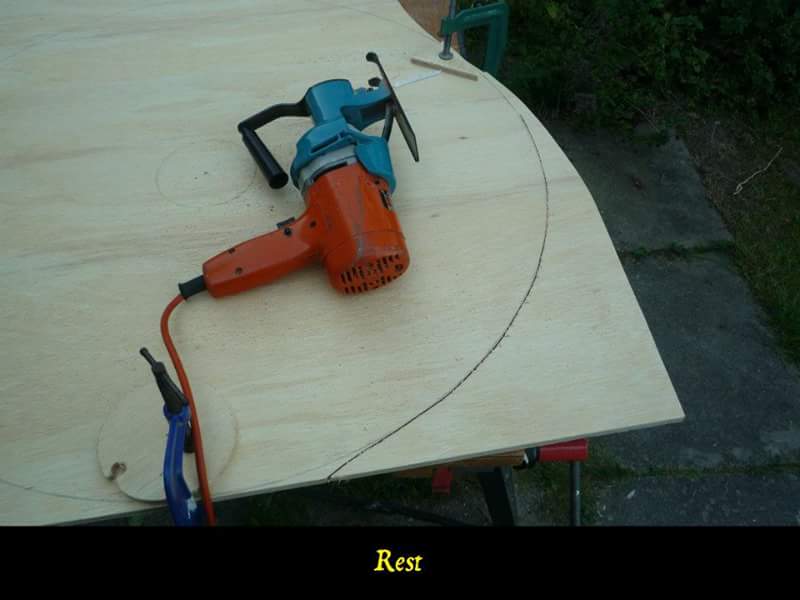
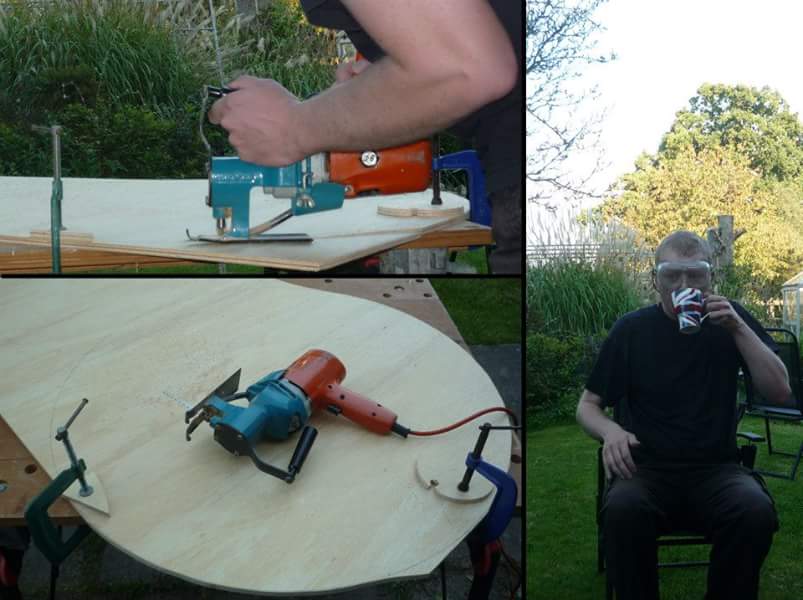
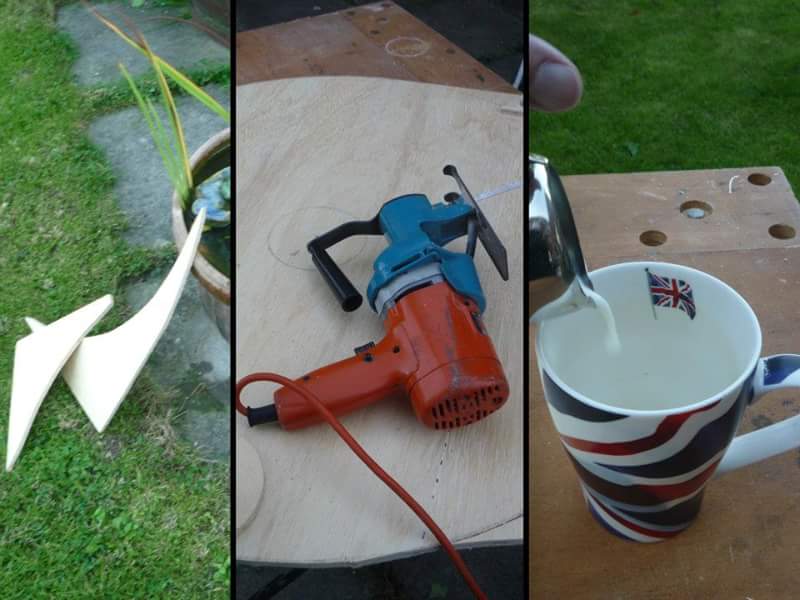
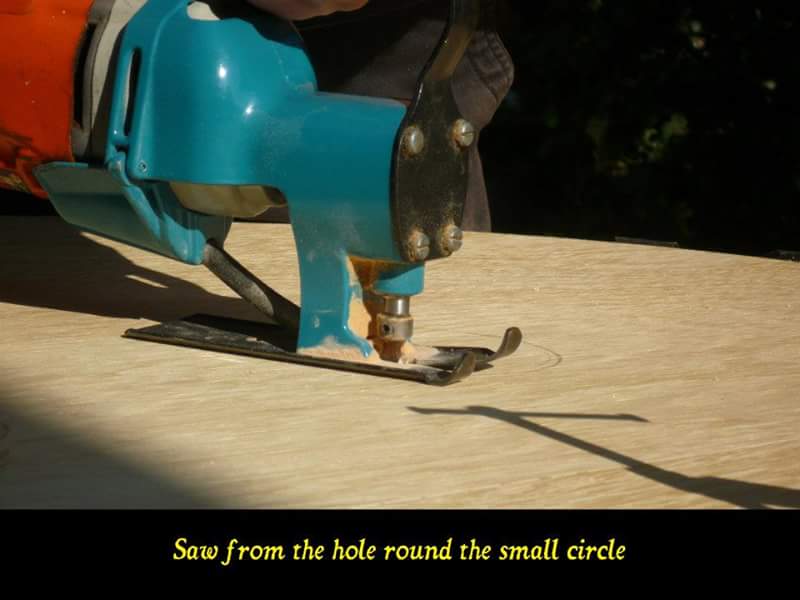
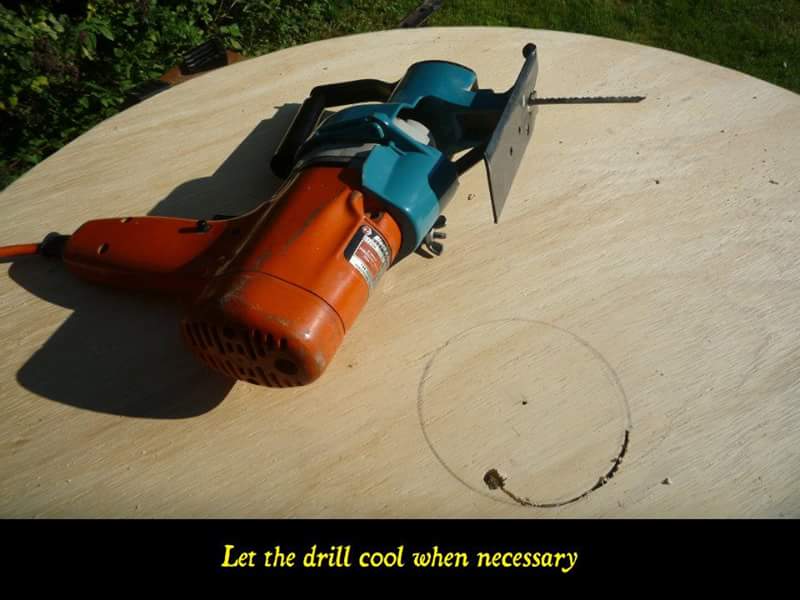
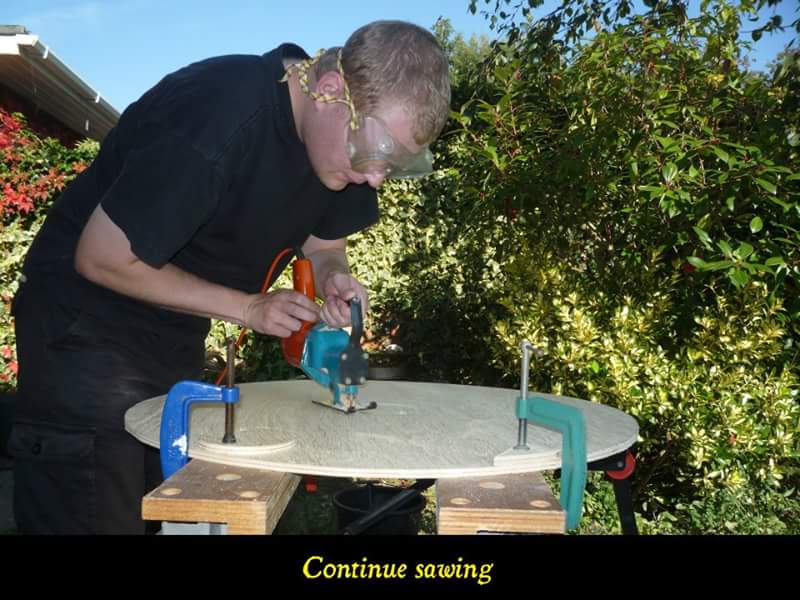
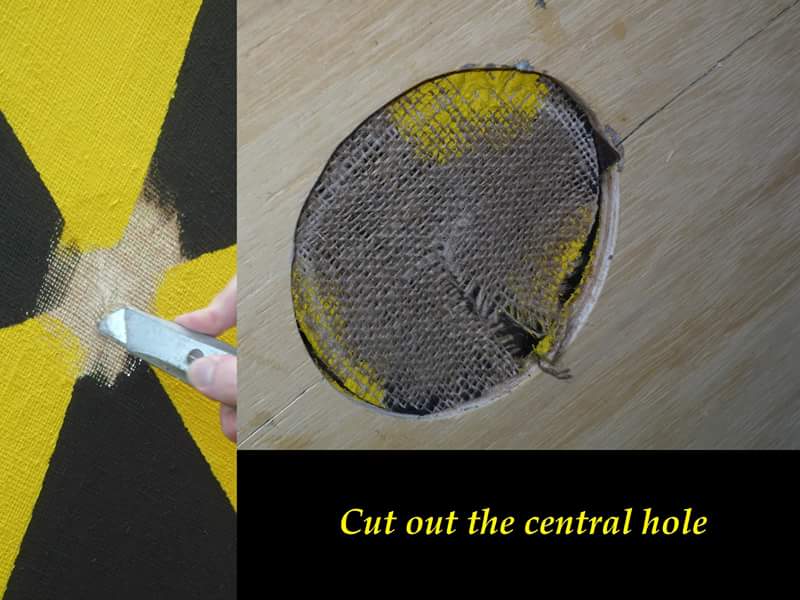
- jigsaw
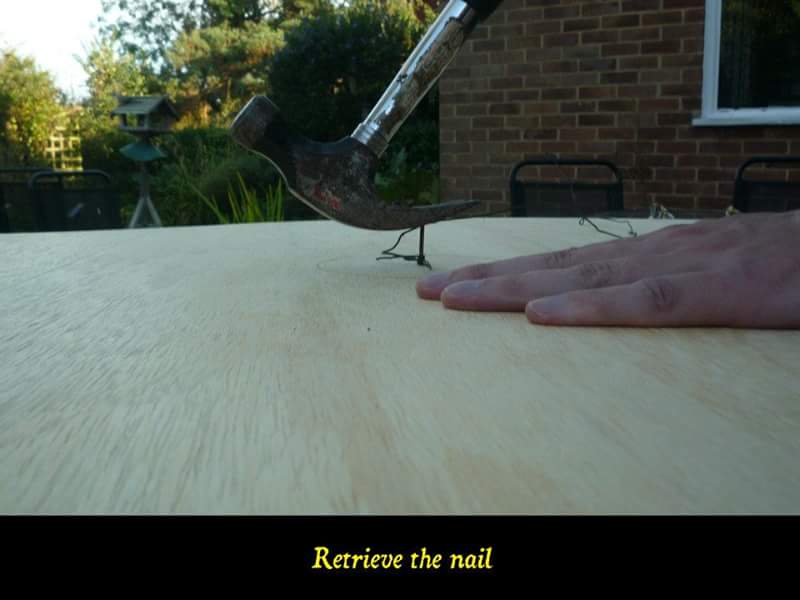
- hammer
- nail
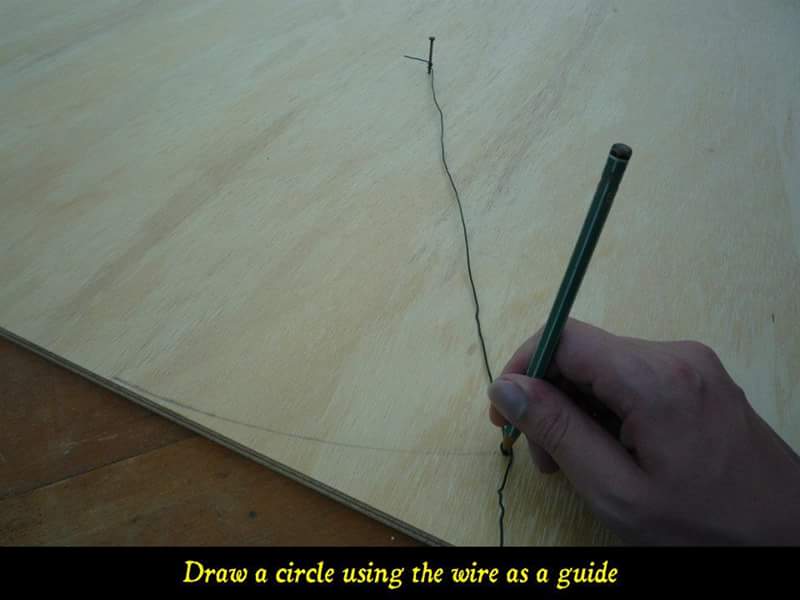
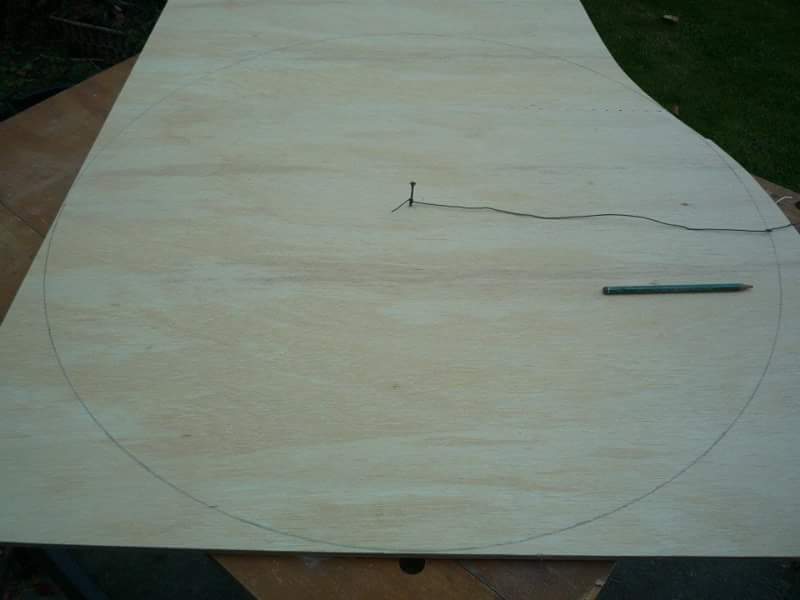
- 1 × length of wire, longer than the radius of the shield.
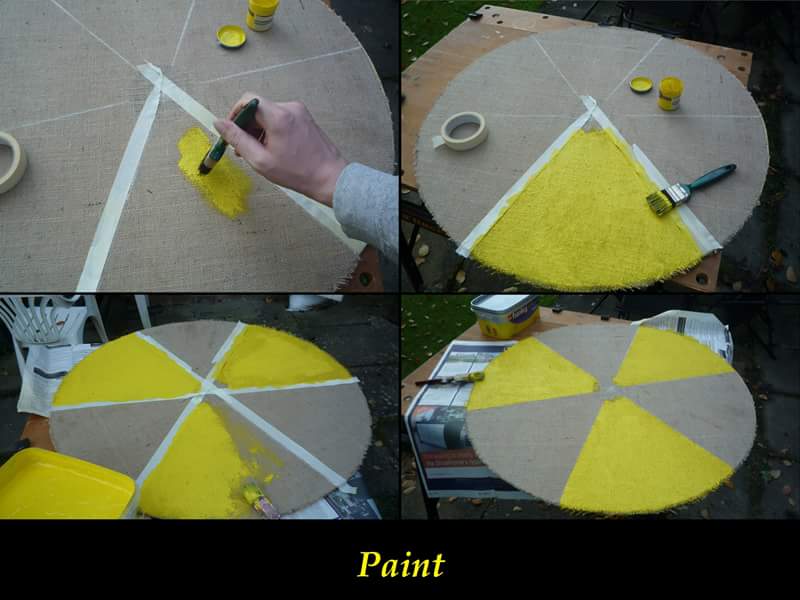
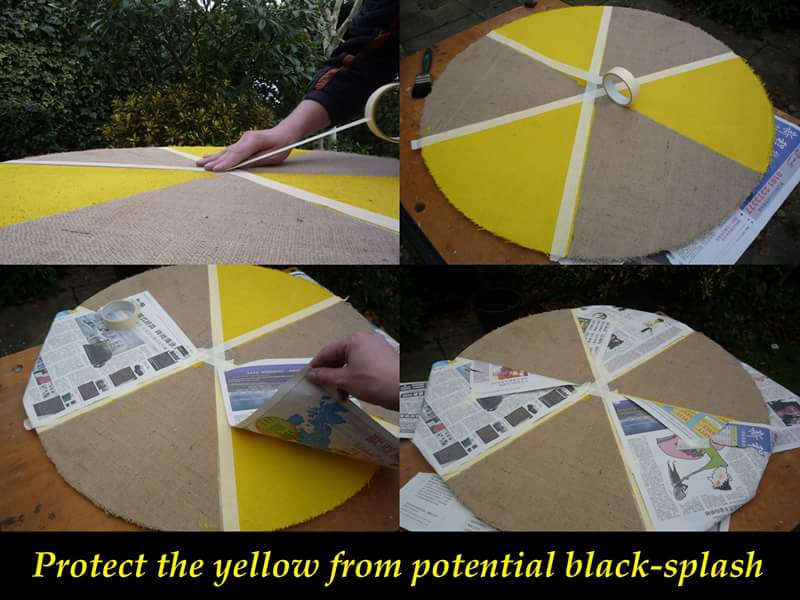
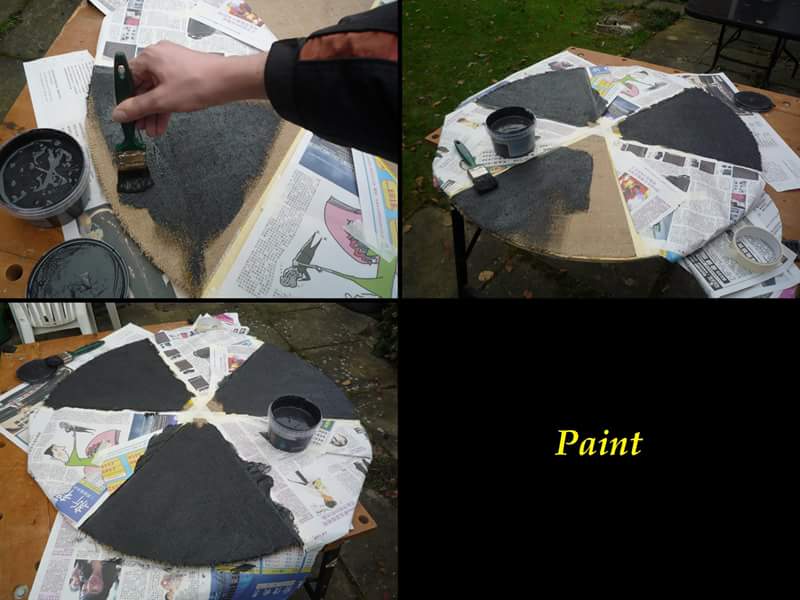
- paint